Having nice-looking pages on your website depends on many factors. Something that designers often don’t pay enough attention to is the style of the links. Besides the colors, more factors will help you to separate the look of internal and external links on your website.
A common thing you can see nowadays is an icon placed next to the external link. If you want the same on your WordPress website, you are in the right place. This article will show you how to place icons next to external links.
Why should external links have icons?
Properly styling links and letting users know when they are leaving the website will positively impact the user experience. Differing the look of the internal and external links will allow the user to see that you are not responsible for the content shown on a 3rd party website.
The best way to style external links is to add an icon next to them. The icon you select should clearly signal that the link’s destination is another website. This will also encourage users first read your content and then head to external pages.
How do place icons on external links?
![]()
One of the best and all-in-one link management plugins nowadays is WP Links. This plugin allows you to control everything related to links on your website. Today we are going to show you how you can use it to add icons next to external links.
Once the plugin is active, go to your WordPress dashboard and click on WP Links from the menu on the left. From the page, you can see how you can gain complete control over all of the links on your website.
Icons that you will add to the external links can be images or icons from Dashicon and Font Awesome. Stay in the default tab called External links and scroll down.
Use image icon
![]()
As you can see, there is a Choose icon type setting at the bottom of the page. Suppose you want to use the image icon click on the dropdown menu and select image. A new setting called Choose icon image will appear.
From here, simply select the icon that you like the most. By default, the icon is displayed on the right side of the link. If you want to change, click on the dropdown menu next to the Icon position label and select the Left side of the link.
Once you do that, hit the Save Changes button, and you are all good. All of your external links will be displayed with the selected icon.
Additionally, you might want to review the Skip icon with the <img> setting. By default, it’s enabled, preventing the icon from showing next to images with external links. In most cases, you will leave this setting as is.
Use Dashicon icon
![]()
The second option is to use the icon from Dashicon as your external link icon. From Choose icon type dropdown menu, select Dashicon as the desired option. Choose dashicon dropdown menu will appear. From there, you can select the icon you like.
Remember that the point is to signal the user they are leaving the website. The list is quite big, and depending on your website’s niche, you can most likely find an icon suitable for your external links.
Once again, when you select the icon, decide if you want to keep it on the right side and if you want to hide it next to images and hit the Save Changes button.
Use Font Awesome icon

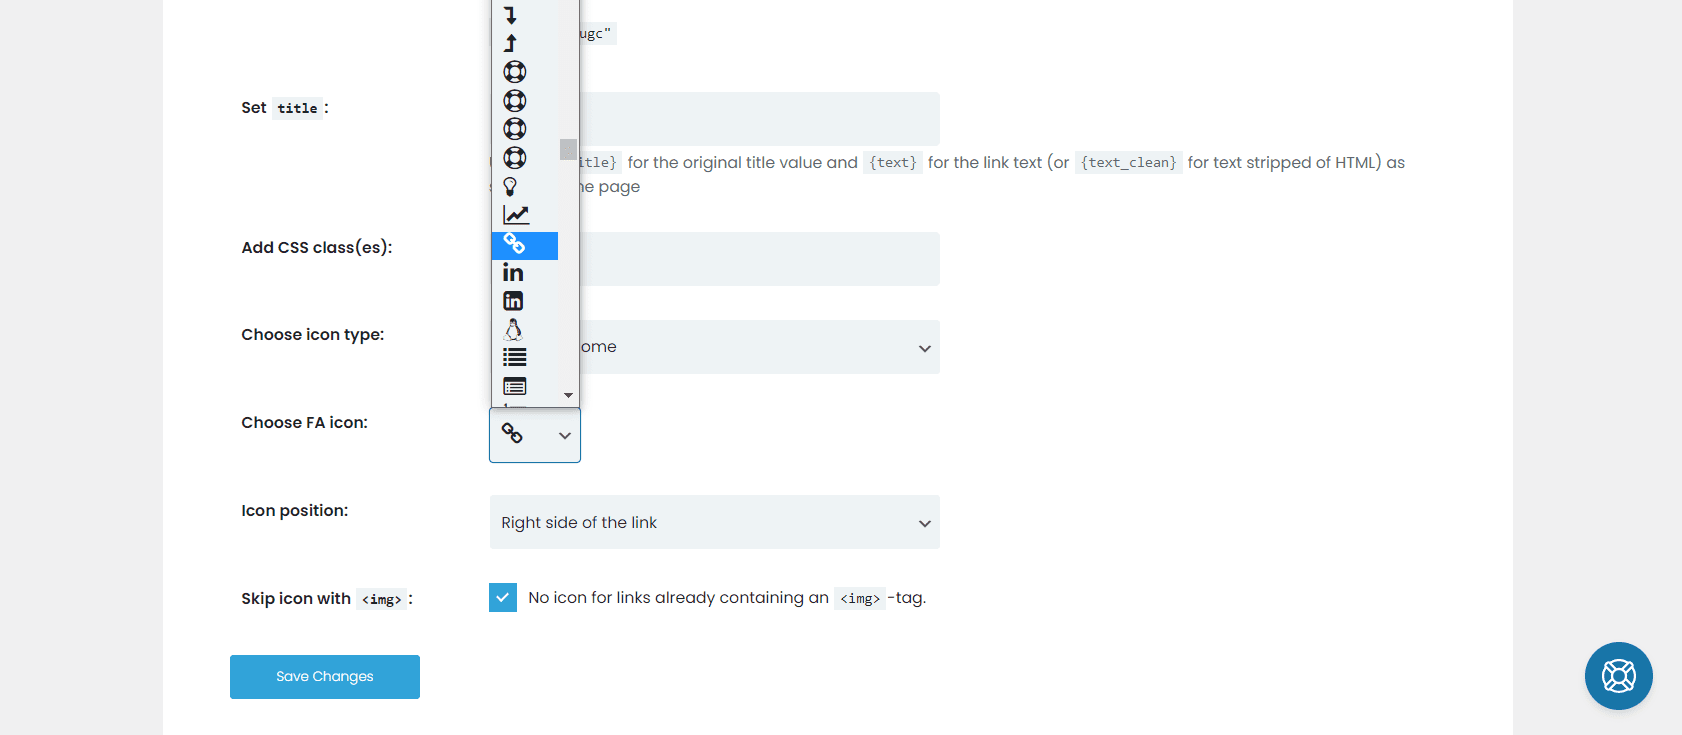
The last option is to use an icon from Font Awesome. After selecting Font Awesome from Choose icon type menu, a new dropdown menu will appear labelled as Choose FA icon. Like with dash icons, the selection is extensive, and you will indeed find an icon suitable for your needs.
Review the icon position, and decide if you want to show the icon next to the image. I suggest leaving it as is and hitting the Save Changes button.
Additional settings for external links
Now that the main task is accomplished, you can also consider making additional settings for your external link. This is possible from the same tab in the WP Links settings. With this plugin, you can change tags and attributes of links, change how they open, and much more.
Open links in a new tab or new window

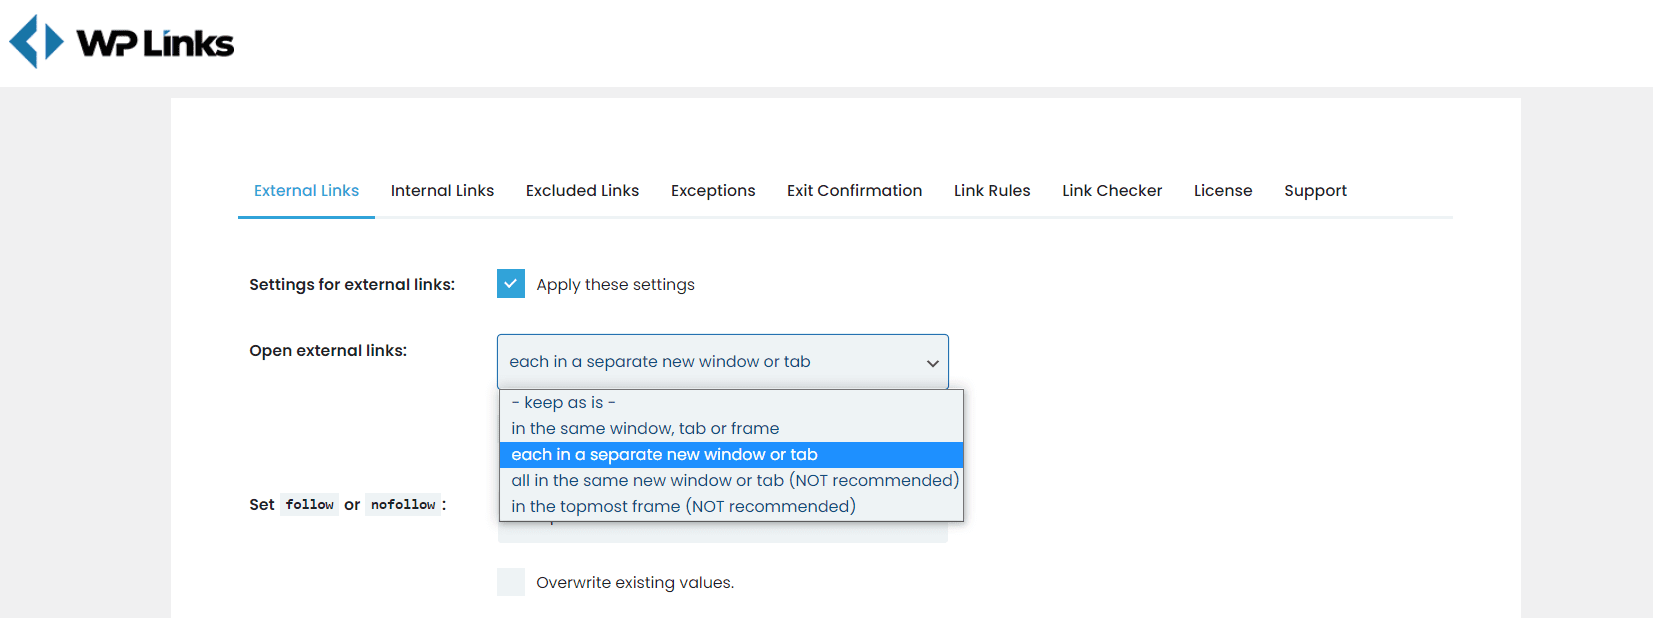
When you open the WP Links in your WordPress dashboard, you will notice the second setting labeled as Open external links. From the dropdown menu next to it, you can choose how will the external links open from your website.
If you want to keep the user on your website, even when he goes to an external page, you can select each in a separate new window or tab option. This way, when the users finish with the page you referred them to, they might return to your page.
It’s also possible to open external links in the topmost frame, but this is not recommended in most cases. However, if you find it useful, it’s good to know this feature exists.
Add tags to external links

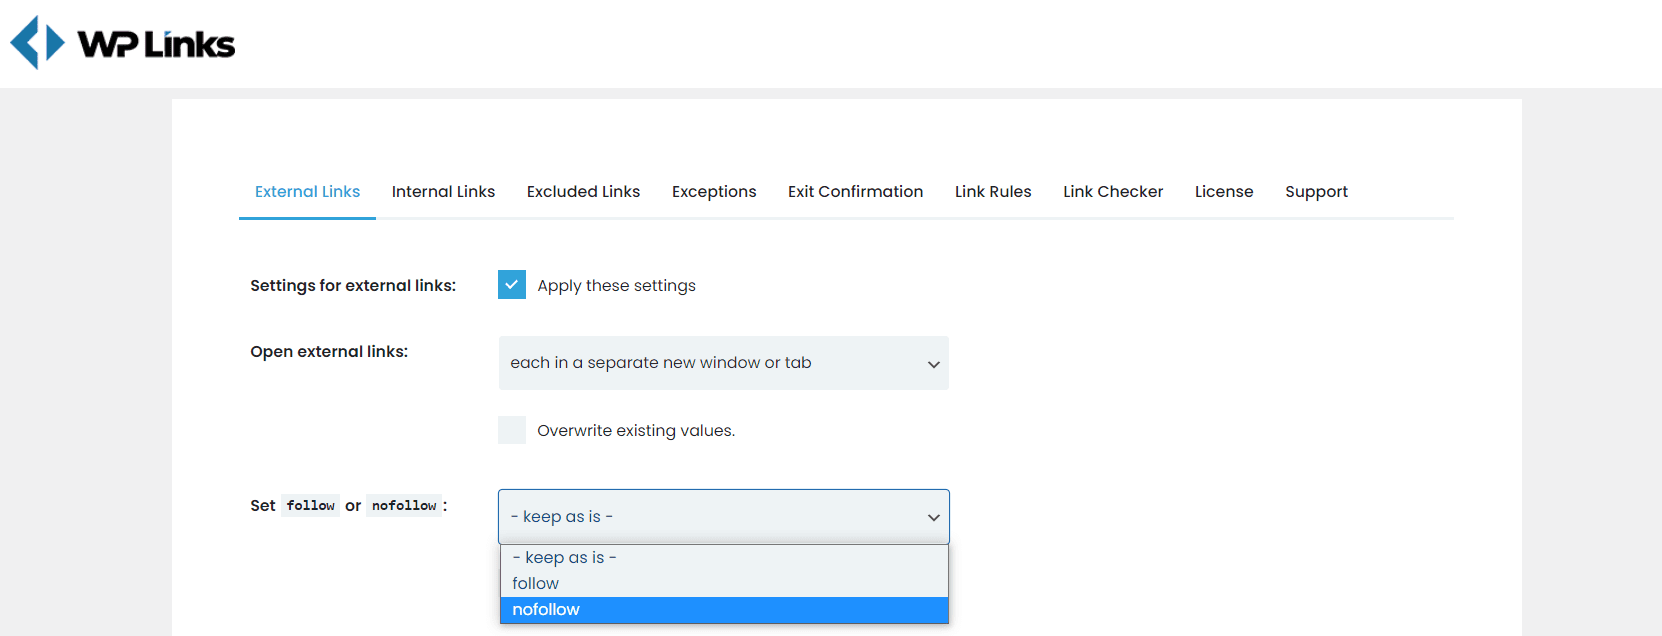
To add follow or no follow tag on external links on your website, click on the dropdown menu next to the Set follow or no follow label. Here simply select the default tag for the external links. Once you are done, scroll down and hit the Save changes button.
For settings described, you can mark Overwrite existing values box before saving changes if you want changes to be applied to existing links on your website.
Conclusion
As you can see, changing icons next to external links with WP Links is an effortless and straightforward task. You can apply the same settings for internal links if there is a need for that.
Links play an essential role in SEO and the look of a website. It’s important to have proper strategies and systems for managing them. WP Links provides an all-in-one links management solution and will make your life much easier in the long run.

