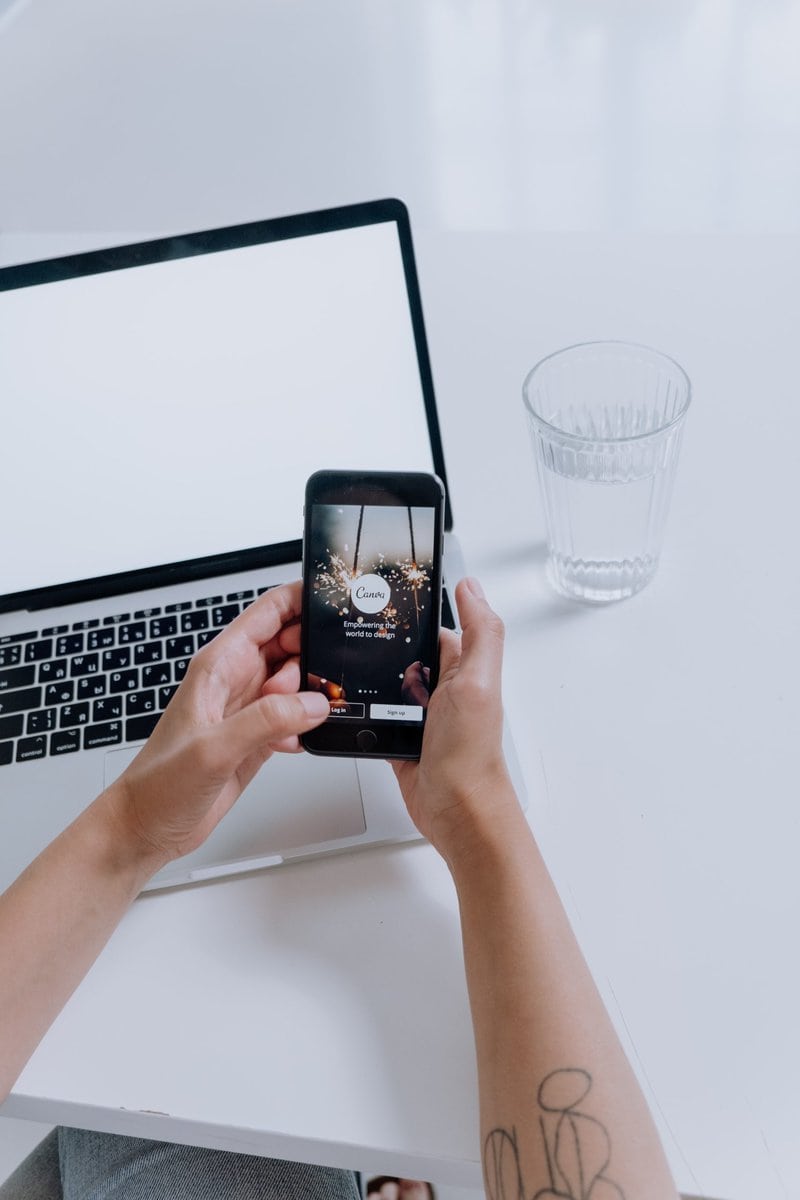
Sometimes, there may be situations where you need to blur the face in a photo to protect someone’s privacy or maintain anonymity. Whether it’s for social media posts, blog articles, or any other purpose, Canva, the popular graphic design tool, provides a simple and effective solution. In this article, we will guide you through the process of blurring faces in photos using Canva. With just a few easy steps, you’ll be able to ensure privacy while maintaining the visual integrity of your images.

Step 1: Sign in to Canva and Open the Design Tool
To get started, sign in to your Canva account or create a new one if you don’t have one already. Once you’re logged in, navigate to the design tool where you can create and edit your graphics.
Step 2: Upload the Photo
Click on the “Uploads” tab in the left sidebar and select the photo you want to work with. Canva supports various image formats, so you can easily upload the photo from your computer or any other preferred source.
Step 3: Create a Duplicate Layer
Before making any edits, it’s essential to create a duplicate layer of your photo to ensure that the original image remains intact. To do this, right-click on the photo and select the “Duplicate” option. This will create a separate layer that you can edit without affecting the original image.
Step 4: Select the “Effects” Tab
In the top toolbar, you’ll find the “Effects” tab. Click on it to access a range of editing options, including blurring effects.
Step 5: Apply the Blur Effect
Under the “Effects” tab, choose the “Blur” option. Canva offers various types of blur effects, such as Gaussian blur, motion blur, or radial blur. Select the one that suits your preference and the level of blur you want to apply to the face.

Step 6: Adjust the Blur Intensity
Once you’ve chosen the blur effect, you can adjust its intensity. Canva provides a slider or numerical input option to control the blur level. Move the slider or enter the desired value to fine-tune the blur intensity until the face is adequately blurred.
Step 7: Apply the Blur Effect to the Face
With the blur settings adjusted, it’s time to apply the effect to the face in the photo. Click and drag the blur effect over the face, ensuring that the entire area is covered. Canva provides intuitive tools for precise editing, allowing you to resize, rotate, or reposition the blur effect as needed.
Step 8: Review and Save Your Edited Photo
Take a moment to review the edited photo and make any necessary refinements. Zoom in to ensure the blurring effect appears seamless and natural. Once you’re satisfied with the result, click on the “Download” button to save the edited photo to your computer or Canvas cloud storage.
Step 9: Export and Use Your Blurred Photo
Now that you have successfully blurred the face in your photo using Canva, you can export and use it for your intended purpose. Whether it’s for social media posts, blog articles, or any other platform, the privacy of the individual in the photo is protected while maintaining the visual integrity of the image.
Blurring the face in a photo using Canva is a simple and effective way to ensure privacy and anonymity. By following the step-by-step guide outlined above, you can seamlessly apply blur effects to the face, protecting individuals’ identities while preserving the overall aesthetics of your images. Canva’s user-friendly interface and editing tools make the process accessible to users of all levels of experience. Whether you’re a social media manager, a blogger, or an individual concerned about privacy, Canva provides a convenient solution for blurring faces in photos.

